– By Erin Sampson, Barista Trainer
The Home Barista Series classes are run by Competition Barista Champions and are live and interactive. Would you like to learn how to pour a heart, rosetta or tulip? Now you can with our ‘Basics to Latte Art’ class.
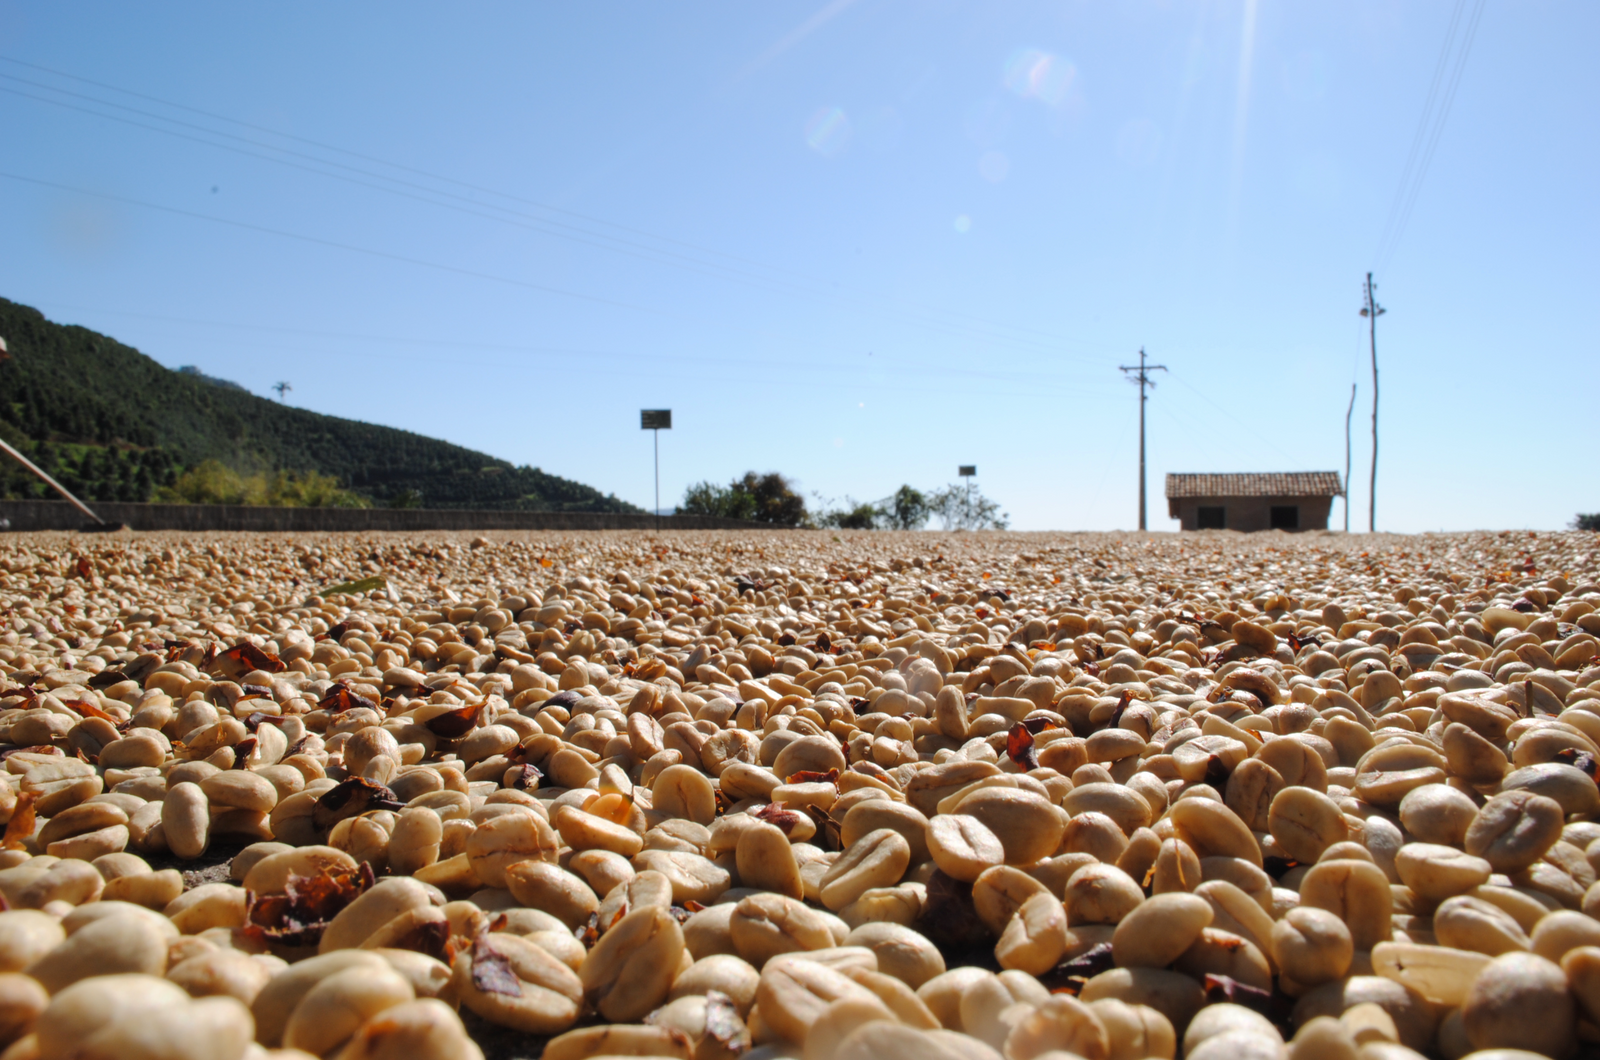
By the time a coffee gets to a customer in a café enjoying their Sunday brunch, it has been on a very long journey. It all starts on the farm being tended to by a farmer then hand-picked and carefully processed then it’s precisely roasted, packed and transported to the café where it will be turned into your coffee of choice. It’s been cared for by many people on its journey so, to me, that is why latte art is the final step in showcasing coffee in all its glory.
As the saying goes “don’t judge a book by its cover” but it’s something we are all guilty of. If I receive a coffee that is washed out with no definition, I am already disappointed.
So, here are my tips to take your coffee from washed out to WOW.
Latte art is a way for baristas to translate their passion into the cup. It’s not an easy skill to learn but once you do, it can become an obsession. From the simple heart to a rosetta, tulip and swan, the options are endless and your imagination will be the only thing holding you back.
Pour your fresh espresso shots first and be ready to start your milk straight away. You don’t want the shots sitting around for too long as they will deteriorate quickly. The best cups to use are ceramic bowl cups or latte glasses. The smaller the cup the less time you will have to complete your pattern, so keep that in mind.
Always start with a clean milk jug and fresh cold milk. The technique for steaming milk is always the same regardless of the type of milk you are using. I do prefer to use full cream milk as I find the final outcome a little easier to work with for latte art.
It’s so important when steaming milk to keep it moving and spinning. That whirlpool motion will burst any small air bubbles and leave you with a silky texture ready for pouring your latte art.
- To start, turn on the steam wand and slowly bring the tip of the wand to the surface of the milk.
- Lower the milk jug as the milk rises so the steam wand stays kissing the surface of the milk until you have your desired amount of foam. Keep in mind when doing latte art to don’t want to make the milk too foamy, rather you want to create a smooth, silky milk texture. The perfect temperature to heat you milk is 60°c – 65° If you are having trouble heating your milk to a consistent temperature a digital thermometer can be a very helpful tool.
- Once you have finished heating your milk you need to work quickly so the milk and foam don’t separate. I like to spin my milk in the jug just before pouring to make it as glossy as possible. I also like to spin my espresso shot to break up any oils. Depending on how many coffees I am making I prefer to use a 400ml jug for a single coffee and a 600ml jug for two. Never try and make more than two coffees at a time and if using a 600ml jug an important trick is to split out half of your milk into a smaller jug before pouring your first coffee. This way you can reserve some foam for your second coffee and you will end up with even amounts of foam in both lattes. I also find with less milk in the jug you have more control of the speed the milk and foam flow out of the jug helping you to more accurately pour the pattern you are trying to achieve.
- Now you’re ready to pour. The first step is to create a base for your art. Once you have achieved this you will be amazed at how a simple heart can look stunning surrounded by a perfect ring of crema.
The Heart:
- Start by tilting your cup. Remember to spin your milk just before pouring. The aim is to just pierce the surface of the crema in the deepest spot being very careful not to let any milk run down the side of the glass, this will cause the milk and crema to mix. By pouring slow and high the crema will stay intact creating a beautiful brown base for your picture.
When your glass is half full lower the jug as close to the coffee as possible while pouring to speed up the flow of milk. Imagine the tip of the jug to be a pen drawing on your pattern. You need it to be touching the surface to draw your pattern. The further away form the surface, the less foam will be able to fall out. The closer you get; the more foam will flow onto the surface of your latte. Keep the tip of the jug in the centre of the glass, by pouring in the centre your picture will be symmetrical in the glass.
When your glass is almost full, straighten up your glass and finally pull through your pattern to the top of the glass turning your apple into a heart.
The Rosetta:
I always start my patterns the same trying to retain the crema to create that base for the art. For a Rosetta I like to use a bowl cup as I find the wider rim and bowl shape help with the flow of milk creating the beautiful leaves of my Rosetta.
- Once again start by tilting your cup. Start slowly just piercing the surface. If any white foam starts to appear slow down the flow of milk and pour directly on top of it, this will make the white dot sink back under the surface.
- Once your cup is about half full, lower the jug so the tip is almost touching the surface of the crema.
- Start at the very top of the cup and gently shake the jug back and forth while slowly moving it backwards. This motion is a bit like a pendulum swinging from side to side although much faster. The more times you move from side to side the more leaves you will end up with in your Rosetta. This motion takes a little time to master but stick with it and you will be pouring this pattern in no time.
- When you reach the bottom of the cup you are ready to finish your Rosetta. Raise the jug back up to its original height and pull a thin stream of milk through your pattern creating the stem for the leaves of your pattern.
Latte Art is something that takes time, patience and a lot of coffee and milk to master, but once you achieve a few simple patterns your imagination will have you creating masterpieces in no time!


